
That Rusty Object – Is It Wrought Iron or Steel?
by Jim Melchor and Tom Newbern
with photographs by Marilyn Melchor
That rusty object, is it wrought iron or steel? Good question. Often, the answer is “Who cares?”. However, there are numerous occasions where the answer to this question is quite important. Beginning in the last half of the 16th century, Europeans, equipped with ferrous or iron-bearing implements, have come to the shores of Virginia and North Carolina to explore, exploit, and settle. Their archaeological sites, scattered artifacts, and even standing structures (mid-17th century, on) are our treasured heritage today.
For individuals who are interested in old buildings and furniture, be they non-professional owners of structures, architectural or furniture scholars, or avocational students of architecture or furniture, determining the composition of ferrous fasteners and hardware on buildings and furniture can be helpful in determining the general age of a structure, structural feature, or piece of furniture. Generally speaking, ferrous hardware and fasteners on buildings and furniture dating before the fourth quarter of the 19th century will be wrought iron. During this earlier period, wrought iron was considerably less expensive than steel. Later hardware and fasteners, especially in the 20th century, will be composed of mild steel, as steel production by this time had become cost effective and routine. There are, of course, many exceptions. Notable among these exceptions is the use of high-carbon steels where strength and/or wear are considerations or where springs are required. Another exception is cast iron, a totally separate animal and not the subject of this article. The identification of cast iron will be briefly discussed later in this article.
Curators need to know the composition of objects in their care. Conservators and restoration blacksmiths working with historic iron and steel objects are often required to repair these objects or reproduce them for restoration purposes. For a proper job, the conservator or blacksmith must know whether the project requires iron, mild steel, or high-carbon steel.
Likewise, archaeologists and lay individuals frequently encounter metal objects that are scattered or are on historic sites. The shape of an object can often determine the use of a particular metal object and sometimes its composition, if there is enough of the object left to identify. Further, it is a simple matter to separate, with a magnet, the non-ferrous from the ferrous or iron bearing metals. Ferrous metals on archaeological sites generally will be wrought iron, mild steel, or high-carbon steel, unless the site has been contaminated with later materials, such as stainless steel. Which is it, iron or one of the steels? The answer to this question can also lead to the identification of the object.
The stated purpose of this article is to provide architectural and furniture scholars, curators, conservators, restoration blacksmiths, archaeologists, etc. with a method of a) determining if a ferrous metal is wrought iron, mild steel, or high-carbon steel, b) how to locate inexpensive sources of various ferrous metals, and c) how properly to work these metals.
The local junkyard can be a cornucopia of raw materials for the conservator and restoration blacksmith. If you become acquainted with the operator of the yard, you usually will be allowed to scour through the piles of vehicles, machinery, tools, appliances, building materials, pipe fittings, and unidentifiable, but nevertheless wonderful, scrap. This, in itself, is an archaeological expedition. The best part is you may keep the treasures you find, and they will only cost you a few dollars for small purchases or a few cents a pound if you are a quantity buyer. However, there is a catch. You really should know what you are collecting so that you can apply the proper material to a specific job.
Just about any yahoo can tell the difference between plastic and metal. That will be the first obstacle to overcome in the junkyard. Leave the plastic! The next test is to distinguish among non-ferrous metals (aluminum, copper, brass, bronze, etc.), ferrous metals (irons and steels), and stainless steels. Most of this can be done with your trained eye. Also, in the first category, the junkyard operator is savvy and has already separated most of these metals as they are worth many times more than iron and steel scrap. Obviously, some types of these metals will slip through the crack. Carry a small magnet with you on your trip to the junkyard. The magnet will help you weed out the non-ferrous metals and some of the stainless steels. Use your eyes to eliminate the rest of the stainless steels that are magnetic. They will usually have a bright surface as opposed to iron and steel, which will normally show surface oxidation. Of course, some steels are painted, plated, or have not weathered enough to be oxidized. If there is a question about a particular piece, leave it or take the risk. You are not talking about a lot of money. If it is stainless steel, you will know it when you start forging it. You generally have to pound the hell out of stainless, and it often crumbles. Cast iron is also common and fairly obvious. It will have at least one porous surface and often will be cast into a functional shape such as a manhole cover with writing, designs, or figures cast into the surface. Leave it. Your best bet at a junkyard is to gather smaller workable pieces of wrought iron and steel. You do not want to be faced with cutting or shaping massive pieces to make them usable. Keep it simple. Otherwise, it is more economical to purchase new stock. Wrought iron is not as plentiful in junkyards as it once was; however, it still can be found. Look for old sections of fencing, salvaged scrap from old bridges, old farm equipment, and structural members from pre-World War II buildings that have been razed.
Now that you have selected your rusty treasures from the junkyard and have them at your shop, you should figure out what you have. As with the wide assortment of magnetic and non-magnetic stainless steels, there are as many types of mild and high-carbon steels as there are bugs on a July night in eastern Virginia (a slight exaggeration, maybe). These various steel types are formulated for specific properties and uses, and they depend upon the particular elements and quantities of these elements alloyed with iron to form the steels. For the purpose of routine conservation, blacksmithing, and archaeological work, we are, in this article, going to lump all the iron and steel types into three simple categories. They are wrought iron, mild steel, and high-carbon steel. This is a non-technical article written to assist the conservator or blacksmith in obtaining and using inexpensive stock for general shop work and the archaeologist, curator, and architectural and furniture scholars in identifying ferrous metals. Numerous other authors have written excellent technical and semi-technical articles and books on the various types of steels, their uses, and what steels might be found in certain objects. Examples of these are the outstanding book by Jim Hrisoulas, The Pattern-Welded Blade, Artistry in Iron, the article, SAE Metals and Carbon Steels, by Larry Stevens, and the article, More on Junkyard Steels, by Brian Gilbert. If you are interested in the more technical aspects of steels and their uses, we highly recommend these works. If you have a job that specifies a particular steel, you can take your chances based on the information you gain from the above readings. However, if you want to be absolutely sure, you will have to purchase your specialty steel from a mill or supply house.
One word of caution made by Gilbert in his article bears repeating here. Gold colored steels are cadmium plated. Cadmium is highly toxic! When scavenging junkyards for steels for blacksmithing, it is better to leave these.
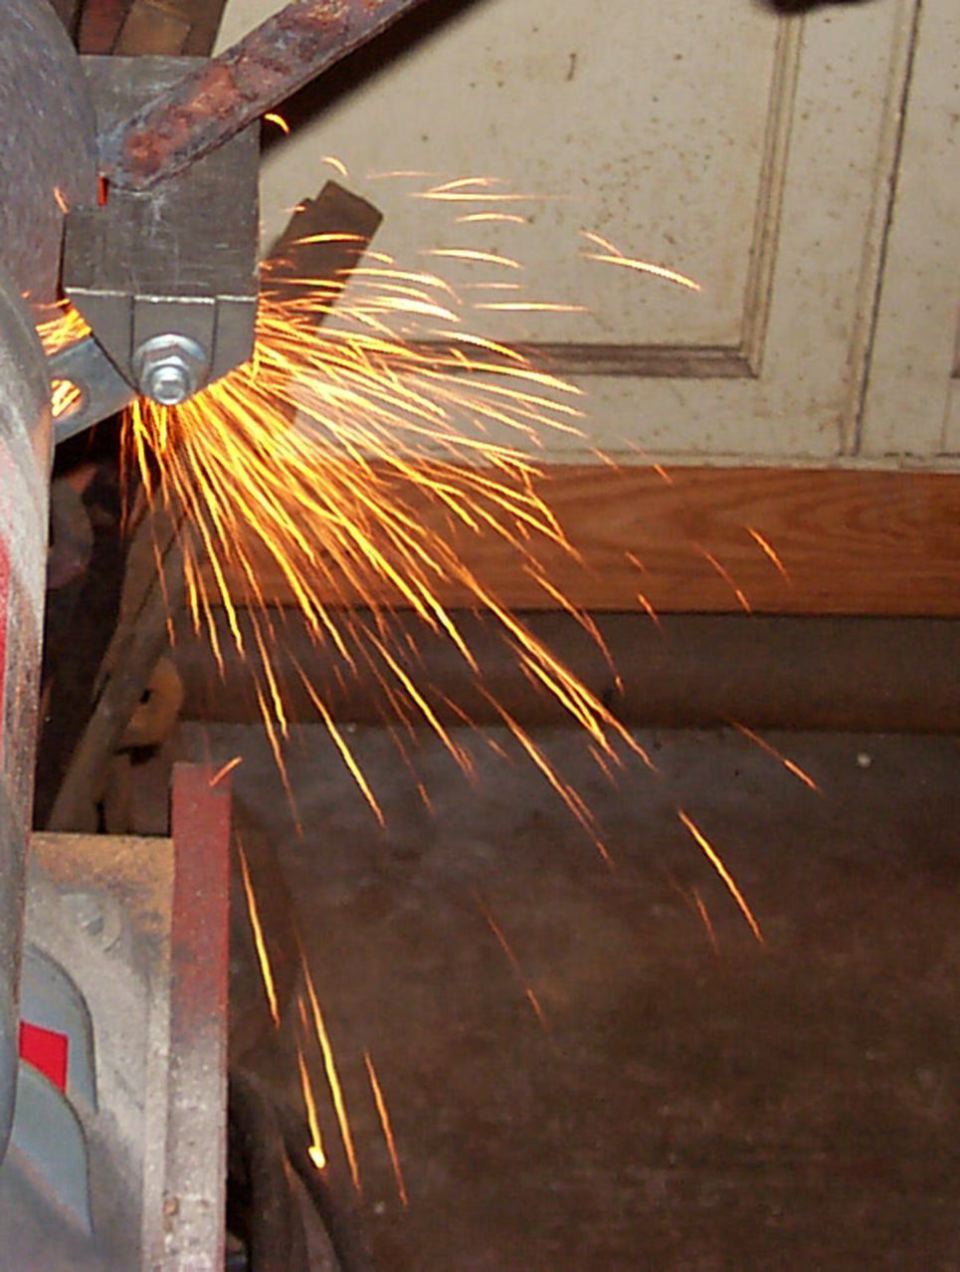
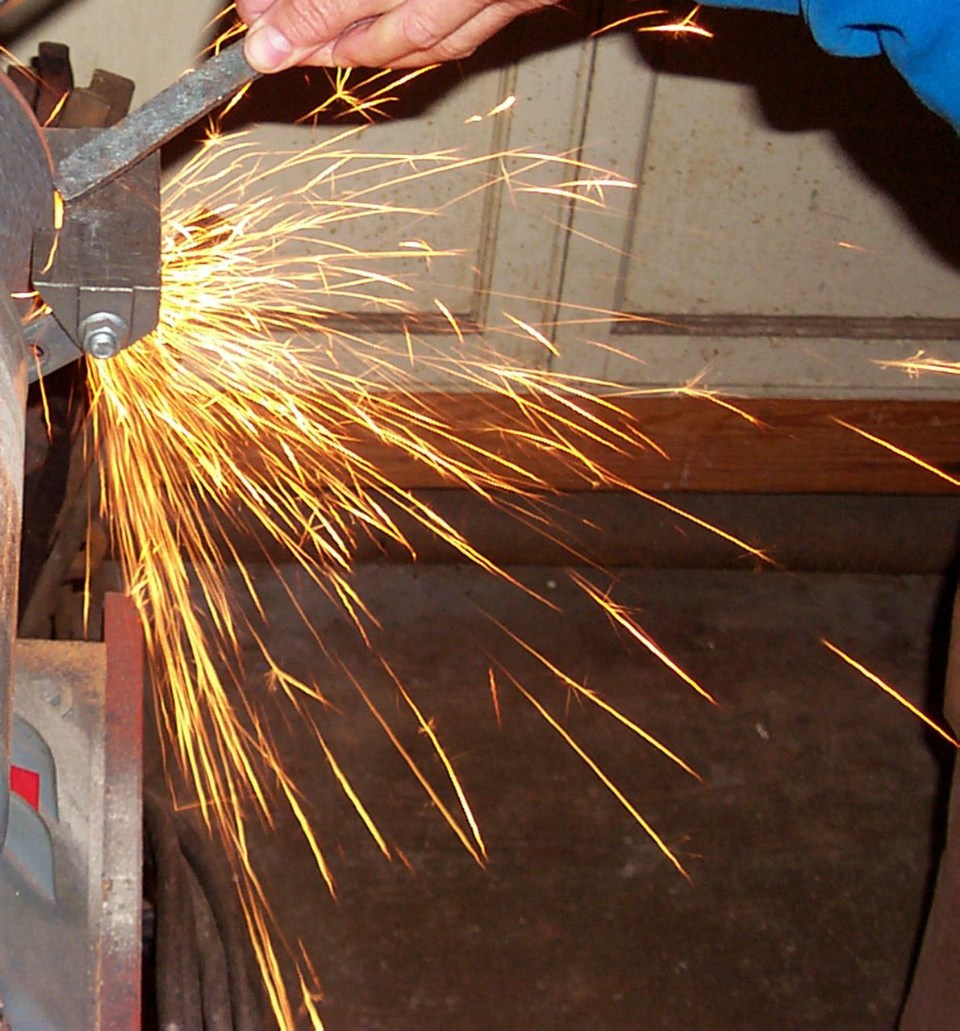
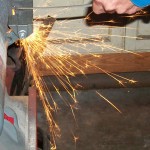
For routine shop or lab work, there is a simple method for determining into which of the three categories your piece of junkyard scrap or artifact falls. This method is the grinder spark test. Using a common electric bench grinder with a coarse aluminum oxide wheel, touch the piece of iron or steel to the wheel and carefully observe the sparks produced. If the sparks are reddish to orange with no sparklers, the piece is wrought iron (Fig. 1, Wrought Iron). If the sparks are bright orange with a few sparklers, the piece is mild steel (Fig. 2, Mild Steel). Finally, if the sparks are bright orange to white with many sparklers, the piece is high-carbon steel (Fig. 3, High-Carbon Steel). The sparklers are bits of carbon being burned from the steel. Obviously, this method is somewhat subjective and different steels will behave differently. However, the spark pattern among mild steels is subtly distinctive as is the case with high-carbon steels. Consequently, for gross categorization of wrought iron and steels, the grinder spark test works. Remember, this is a mildly destructive test when done properly, so just quickly and lightly touch historic objects and artifacts to the grinding wheel!!! It is better to practice on scrap metal first. At this point in our article, the architectural and furniture scholars, curators, and archaeologists can proceed with cataloging and interpreting their artifacts. Conservators and restoration blacksmiths should continue reading.

Now that you have your stock separated by general category, you can select the most appropriate piece for the job at hand. Remember, wrought iron is becoming considerably more difficult to find. Use your wrought iron in reproducing or repairing early pieces. Mild steel is plentiful, forges well, and is suitable for most routine shop work. For tools, springs, and objects subject to heavy wear, use the high-carbon steel.
Forging and welding temperatures vary for wrought iron and steel. Wrought iron welds at a bright yellow to a white heat. Wrought iron can be safely forged from a bright yellow heat to hot gray metal. Do not hammer iron or steel cold! They will crack. Both mild and high-carbon steels are welded at lower temperatures and forged within a tighter temperature range than wrought iron. Steels weld in the bright orange to yellow range. If lots of sparks are flying from the work piece in the forge, it is too hot, is burning, and is ruined! Steels can be safely forged from an orange to a dull red heat. Steel, especially high-carbon steel, will let you know when you are below the proper forging heat. It noticeably resists the blow of the hammer.
Wrought iron cannot be hardened by heating and quenching. Also, generally speaking, mild steels cannot be hardened by heating and quenching. High-carbon steels can be. There are two basic shop methods for hardening high-carbon steels depending upon the type of steel, which you will not know. These methods are oil quenching and water quenching. To avoid cracking the steel, it is better to try the oil quench first. Heat the work piece to a bright, uniform cherry red and quench it in plain 30-weight motor oil without additives. Use a metal container with a lid to prevent a flash fire. If this does not harden the piece, reheat it and quench in water. In whichever case works, the piece is now much too brittle to use unless it is a bearing surface. The piece must be tempered or drawn to soften it slightly. After hardening, brightly polish the work piece. However, be careful not to heat the piece in the polishing process. Next, heat a heavy piece of iron or steel stock in the forge to near-welding temperature. Without contacting this hot piece of stock, pass the work piece over it thus heating the work piece. Carefully watch the heat colors develop on the polished work piece. When the desired color is attained, immediately quench the work piece in oil. For hammers, chisels, gouges, knives, etc., a dark straw color works well. For springs, a royal blue is generally desired. Caution! Gently and progressively exercise new springs. Do not compress them all at once on the first try unless you want to remake them.
For some applications, such as a leg-vise spring, you might need a tough piece of steel but cannot or do not need to go through the exacting tempering process. In this case, make your work piece out of high-carbon steel, heat it to a bright cherry red, and place it on the side of the forge to air-cool slowly. This process is called normalizing. The work piece remains tough and slightly springy but to a lesser degree than achieved through the tempering process.
If you have a hard piece of high-carbon steel that you want to soften to file, saw, machine, etc., anneal it. Simply heat the piece to a bright cherry red, and bury it in the coals of the forge to cool very slowly over night. This will, in most instances, remove the hardness.
In all cases of forge welding, hardening, tempering, and/or annealing junkyard steels, you should first try the process on a scrap piece to insure that it is behaving as you wish. Otherwise, you might waste considerable time in making something that will not work because of the properties of the unknown steel used.
Finally, we all know that forge welding wrought iron and various steels and heat treating different types of high-carbon steel in the forge are more magic and mystery than science and engineering. Regardless of our experience level, we all have our days when a weld just will not stick or a spring that took hours to forge and file snaps. Obviously, the methods discussed here will need to be tweaked for particular situations. Hopefully, however, this information will help to move some folks farther down the road in identifying iron and steels and in finding cheap materials to pound on for routine shop and restoration uses.
-
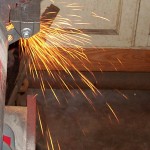
- Figure 1
-
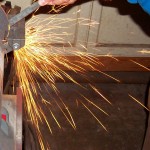
- Figure 2
-
- Figure 3

References:
Melchor, James R. and Melchor, Marilyn S., 2005, Iron and Steel, A “How To” Primer: Chesopiean, v. 42, nos. 2-3.
Hrisoulas, Jim, 1994, The Pattern-Welded Blade, Artistry in Iron: Boulder CO, Paladin Press.
Stevens, Larry, 2002, SAE Metals and Carbon Steels: Hammer’s Blow, Journal of the Artist-Blacksmiths’ Association of North America, v. 10, no. 4.
Gilbert, Brian, 2002, More on Junkyard Steels: Hammer’s Blow, Journal of the Artist-Blacksmiths’ Association of North America, v. 10, no. 4.
Published Aug 28, 2013